Portainer OAuth via Keycloak
May 22, 2022
Let’s assume you have your Keycloak setup with users, either from LDAP or Kerberos and want to authenticate them on your portainer instance.
Log into your Keycloak Realm you want to use and go to the clients section.
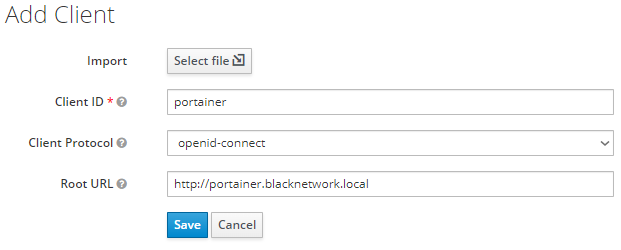
Create a new client:

A new window will appear where you can set the ‘Client ID’ and ‘Client Protocol’. For now set the ‘Client ID’ to “portainer” and the ‘Client Protocol’ should be “openid-connect”. The ‘Root URL’ will be the URL you use to access your portainer instance. For me that is http://portainer.blacknetwork.local
Once you save this you will be forwarded to the client configuration. I only edited the name of the client to as this client is created within a Keycloak realm which only has administrative users.
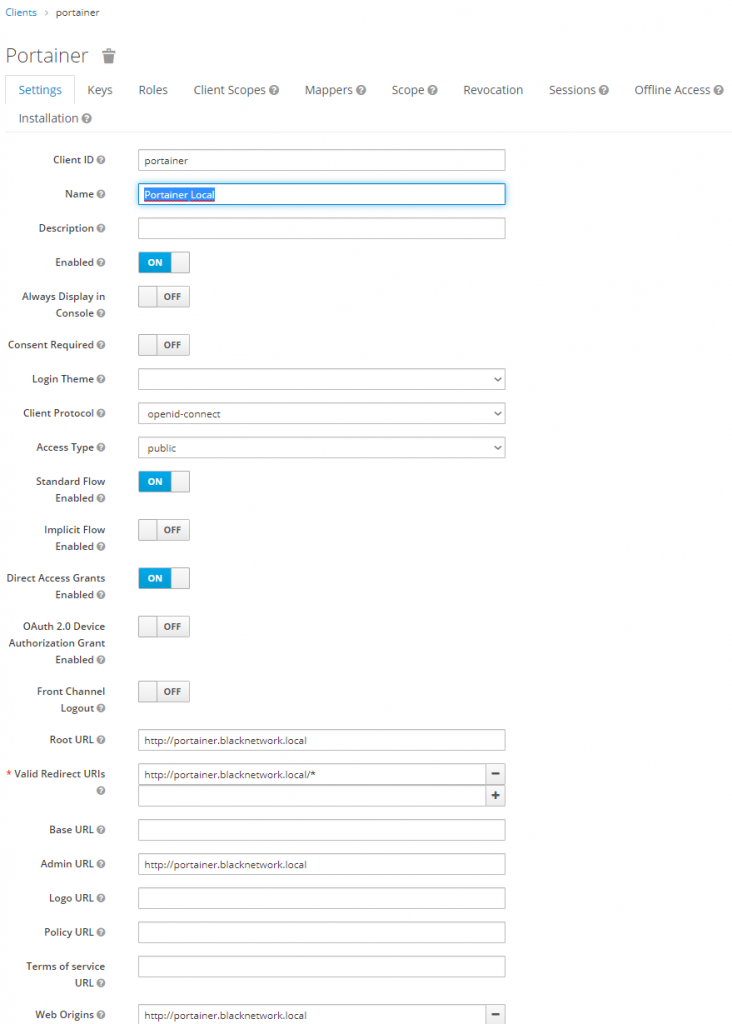
Now you can save this client at the bottom of the settings

Now we can configure the portainer side. Log into your portainer instance with your ‘local’ portainer admin account.
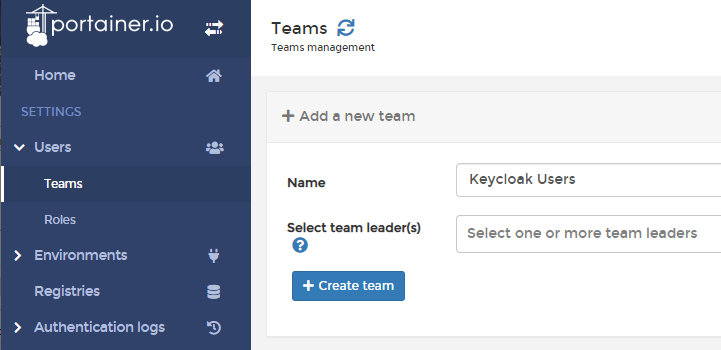
Once you are logged in into portainer we first need to create an administrative group, or team as it is called within portainer, we will use this team to make the users authenticated by Keycloak administrators within portainer.
In the menu on the left hand go to ‘Users’ and than open ‘Teams’. You can create a new team with any name, but in this example I called it Keycloak Users. Once you have decided a name you can click the “+ Create team”-button. We need this team so the users get added to this team once they log in. If we don’t create this team the users will have no permissions.
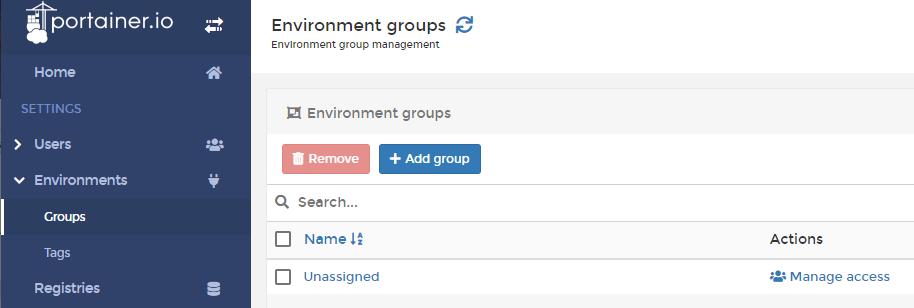
Now we have created the team we need to create an environment group where we can link the previously made team to. Go to ‘Environments’ and than select ‘Groups’. From this screen we can create a new group from the “+ Add group”-button.
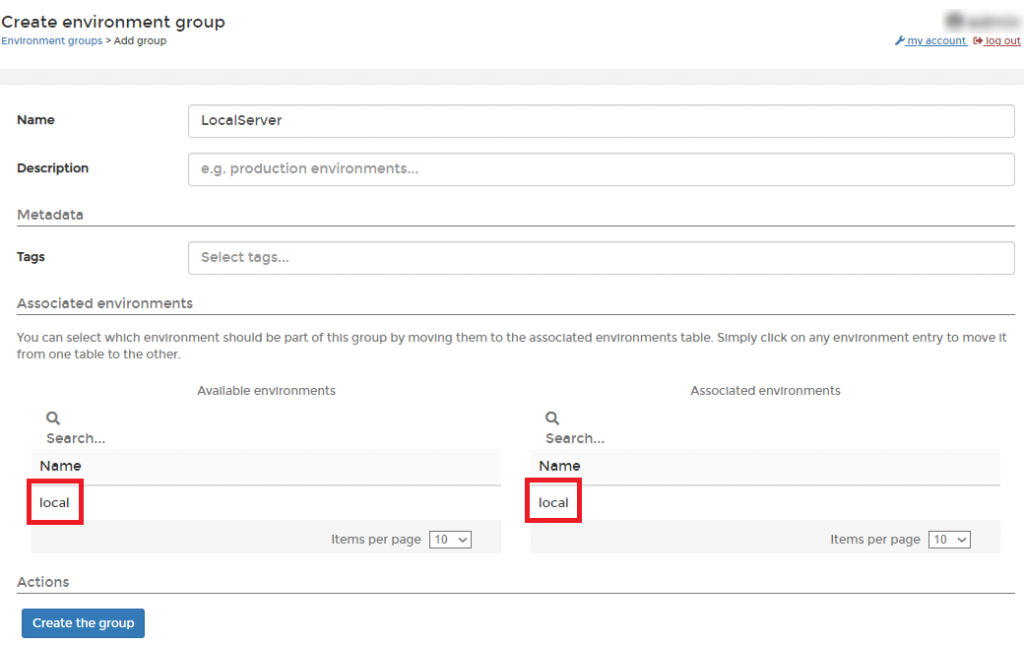
We get a new screen where we can create the new environment group. Give it a decent name and make sure you select the local instance.
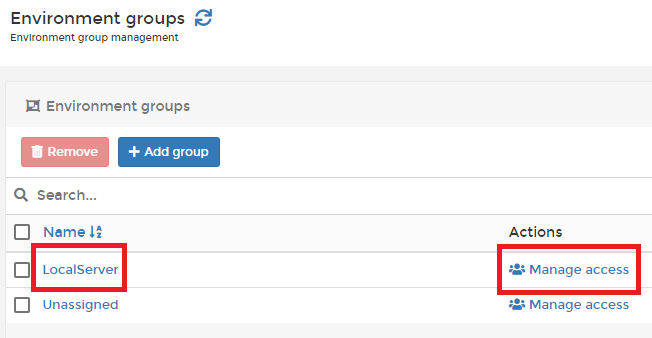
Once we have created the group we will be returned to the overview page of the groups but now we have an extra group. In order to make our ‘Keycloak Users’-team administrator of that group select the ‘Manage access’ option behind your new group.
Once we open the ‘Manage access’ view we can add our team and set the permissions.
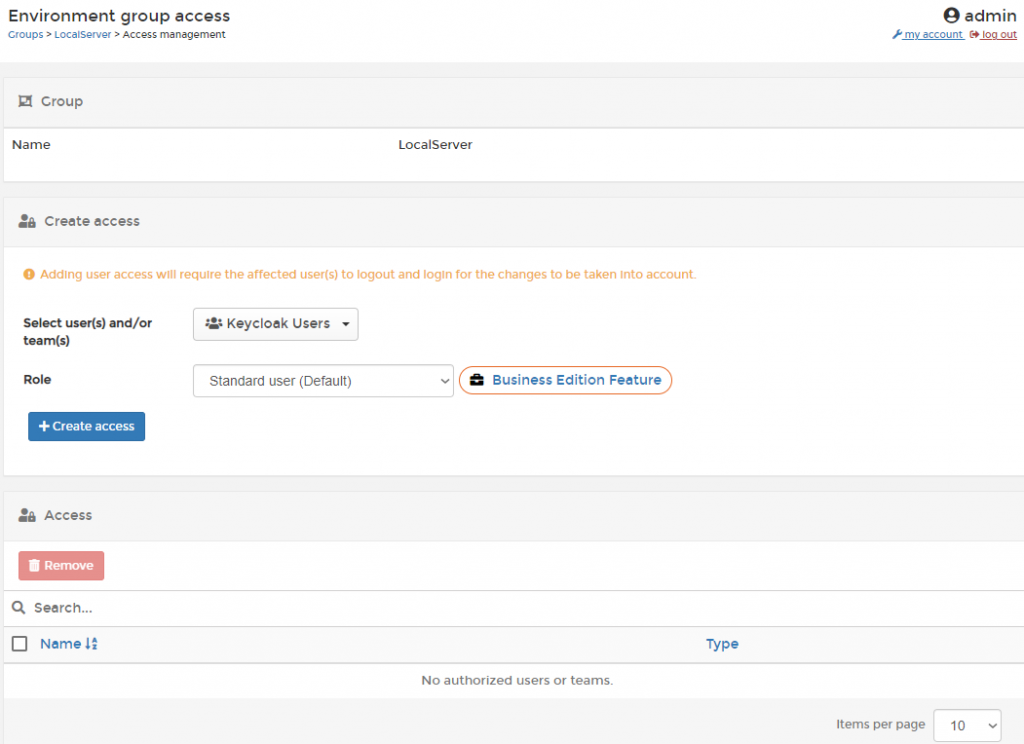
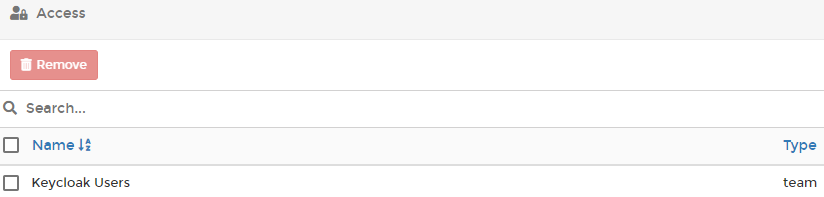
Once you have selected the team and the ‘Standard user’ Role you can click the “+ Create access”-button. Portainer will than notify you that the permissions are set correctly.

You can also review these Access rights as from the ‘Environment group access’ view
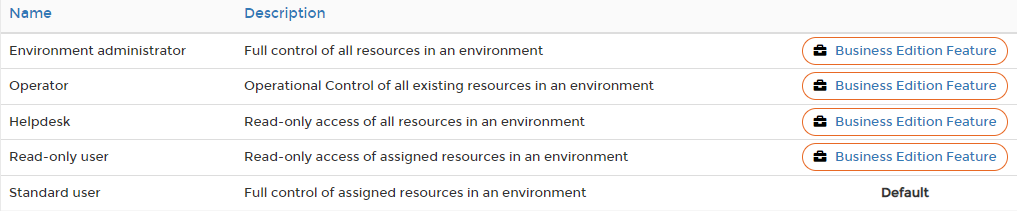
Because I’m running the non-business edition I can only set the permissions to ‘Standard user’. If you are running the bussiness edition you have more options.
So, once we have created the team and assigned it to a group we can change the authentication settings. You need to go to ‘Settings’ and ‘Authentication’ in the menu bar on the left.

Standard the ‘Authentication method’ is set to “Internal”. This needs to be changed to “OAuth”.
Once we change it to “OAuth” we get the extra options that we need to configure so we can make portainer talk to Keycloak.
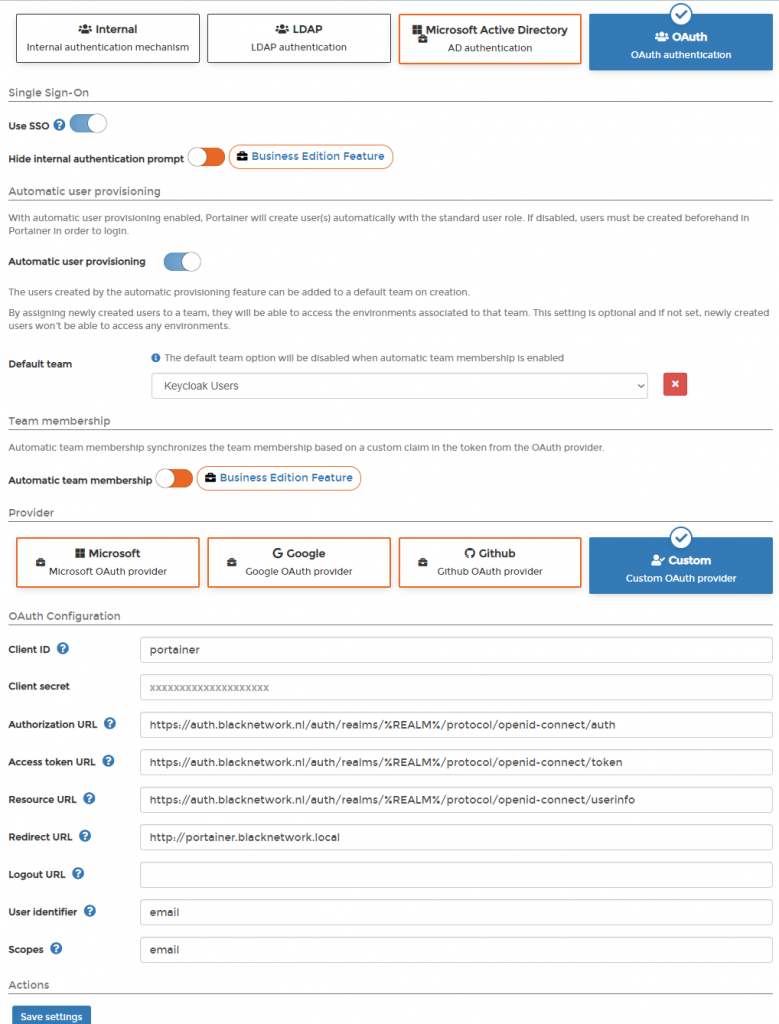
- Default team = Keycloak Users
- Client ID = Same ID we previously set in Keycloak as Client ID
- Authorization URL = https://KEYCLOAK-URL/auth/realms/YOURREALM/protocol/openid-connect/auth
- Access token URL = https://KEYCLOAK-URL/auth/realms/YOURREALM/protocol/openid-connect/token
- Resource URL = https://KEYCLOAK-URL/auth/realms/YOURREALM/protocol/openid-connect/userinfo
- Redirect URL = the URL your portainer is on
- User identifier = email
- Scopes = email
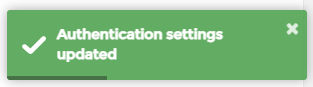
Once you save these settings portainer will give you a notification.
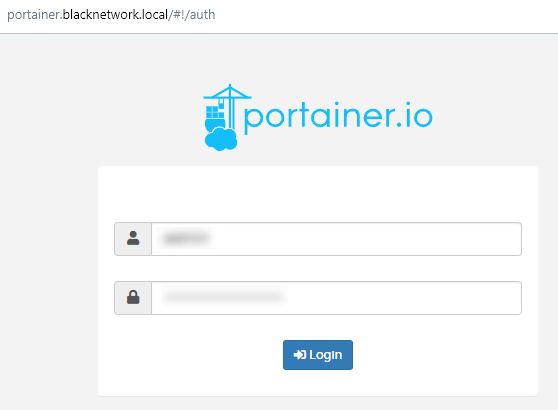
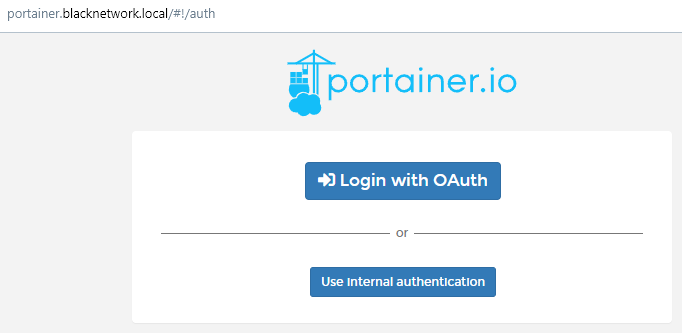
As everything is setup correct you now should be able to login with your email adress which is configured to your user in your Keycloak realm. Once you log out of portainer with the ‘local’ portainer admin account you should be greeted by the option to sign in with OAuth.
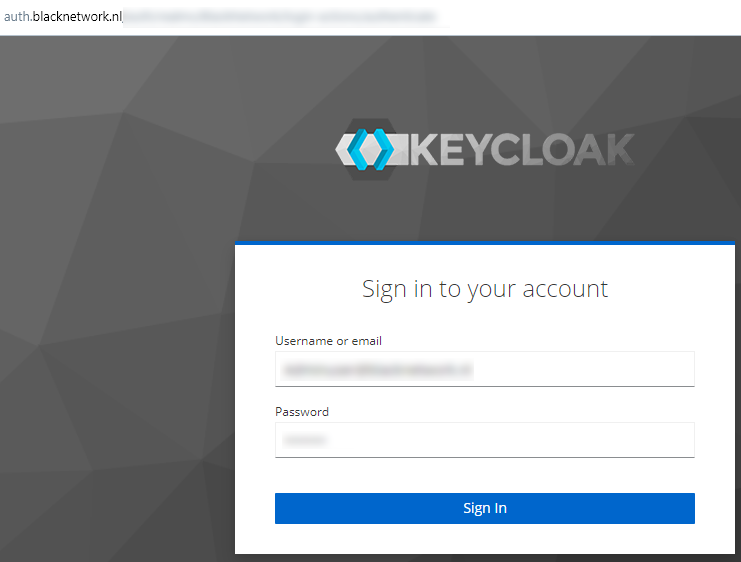
When you select the new option ‘Login with OAuth’ you should be redirected to your Keycloak page and once you provide the email and password of one of the users which is in your Keycloak realm you should be logged into portainer.
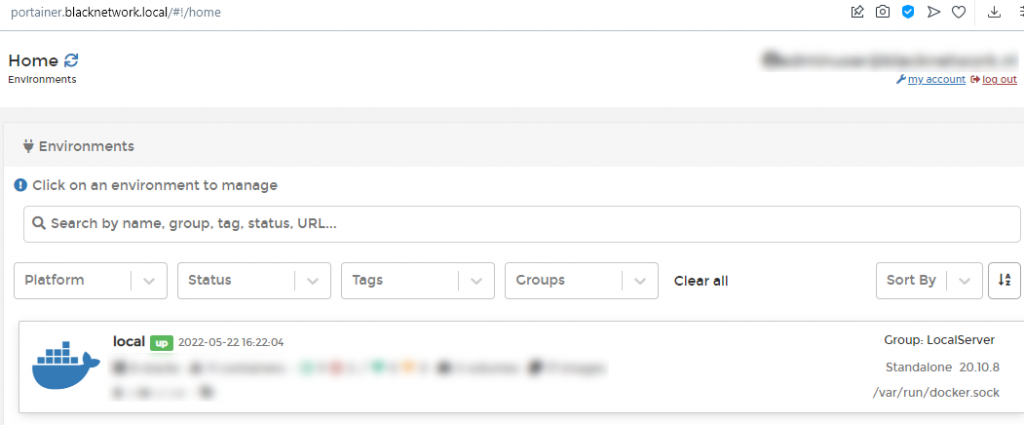
Once we are signed in we should be able to select our local docker environment and manage our containers from portainer.